Ceiling panel install
I have started on the ceiling install as mentioned the other day.
I decided to make a panel for each segment based on the framework as it goes around the curved part of the peninsula.
The first two went up nice and easy as there is no backscene at this point. This will be installed later.
When I did the ceiling for the upper deck above Kankool, I had secured the ceiling panels using screws, but this was a lot of work and used up a lot of screws.
I had intended to keep going with this method so screws were used on the first two panels above.
Again, a lot of screws were used and I thought there had to be another way to do this.
So I looked into using small nails (brads) and looked around for a small nailing gun.
I found one for $40 and also bought a box of 2000 15mm brads for $3.95.
So, the first two panels had their screws removed, panels removed and woodworking glue applied to the joining surfaces, refitted in place and nailed. Much easier and quicker!!
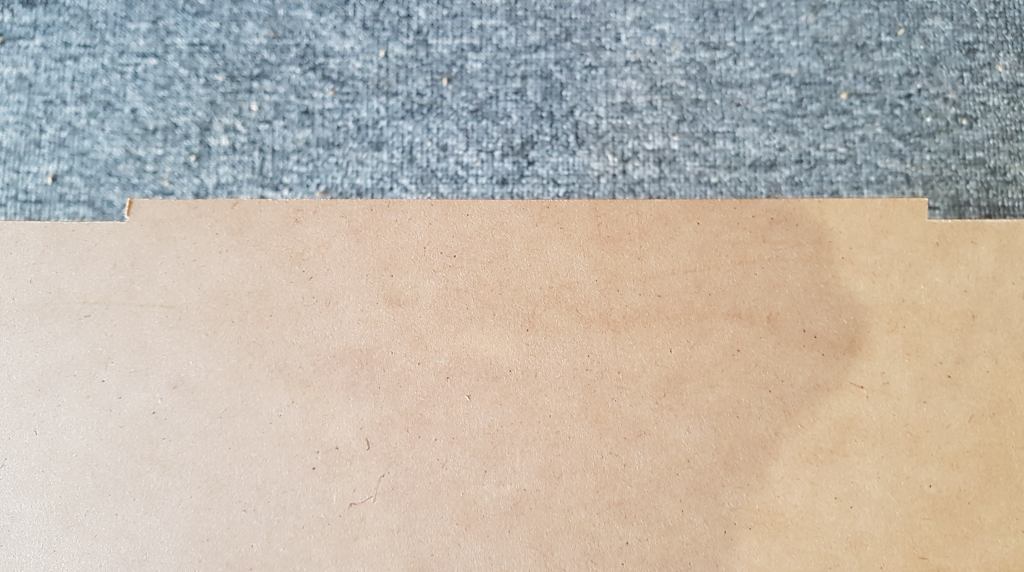
The next panel was a bit trickier as it is starting to go around the curve. Once a piece was roughly cut to size, it was test fitted and the rear curve traced and cut. Because the backscene board is already installed at this location, I had to come up with a way of supporting the back edge of the ceiling panel, so I decided to cut a notch into the rear edge of the ceiling panel and a corresponding cut-out in the top edge of the backscene panel. This worked quite well.
At the same time, the front edge of the ceiling panel is also cut to the shape that the valance will follow.
I have got a bit of a system going now, so the rest of the panels should go up with ease.
Posted on Feb 21, 2022, in Benchwork and tagged benchwork, ceiling, valance. Bookmark the permalink. Leave a comment.


Leave a comment
Comments 0